
We had a blast visiting St. George Island in the Florida Panhandle over spring break. It took some time and too many searches on Pinterest (see some links that I consulted in this post) for me to figure out what crafts I wanted to make with the oodles of shells that my daughter and mom collected on the beach. I have to say, I am quite pleased with the finished wreaths and shell displays.
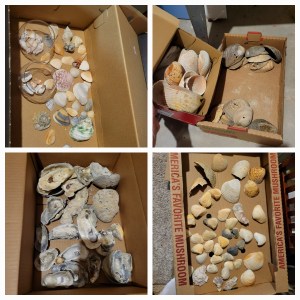
First, I spent time sorting and cleaning the shells. Some blog posts suggest using bleach to clean shells, but I opted to use dishwashing detergent and a toothbrush. I sorted the shells by color and size. This picture is from AFTER some of our craft-making, so our seashell supply is already somewhat depleted.
While I thought about making a wind chime, shell mobile, or a mixed sea glass / wind chime I wasn’t too excited about having to drill holes in shells. Ultimately I made the following crafts:
- Vase filled with sand and shells. Time needed: less than 5 minutes
- Two seashell wreaths. Time needed: 1 hour
- Seashell Tree. Time needed: 1 hour
How I Made a Seashell Wreath
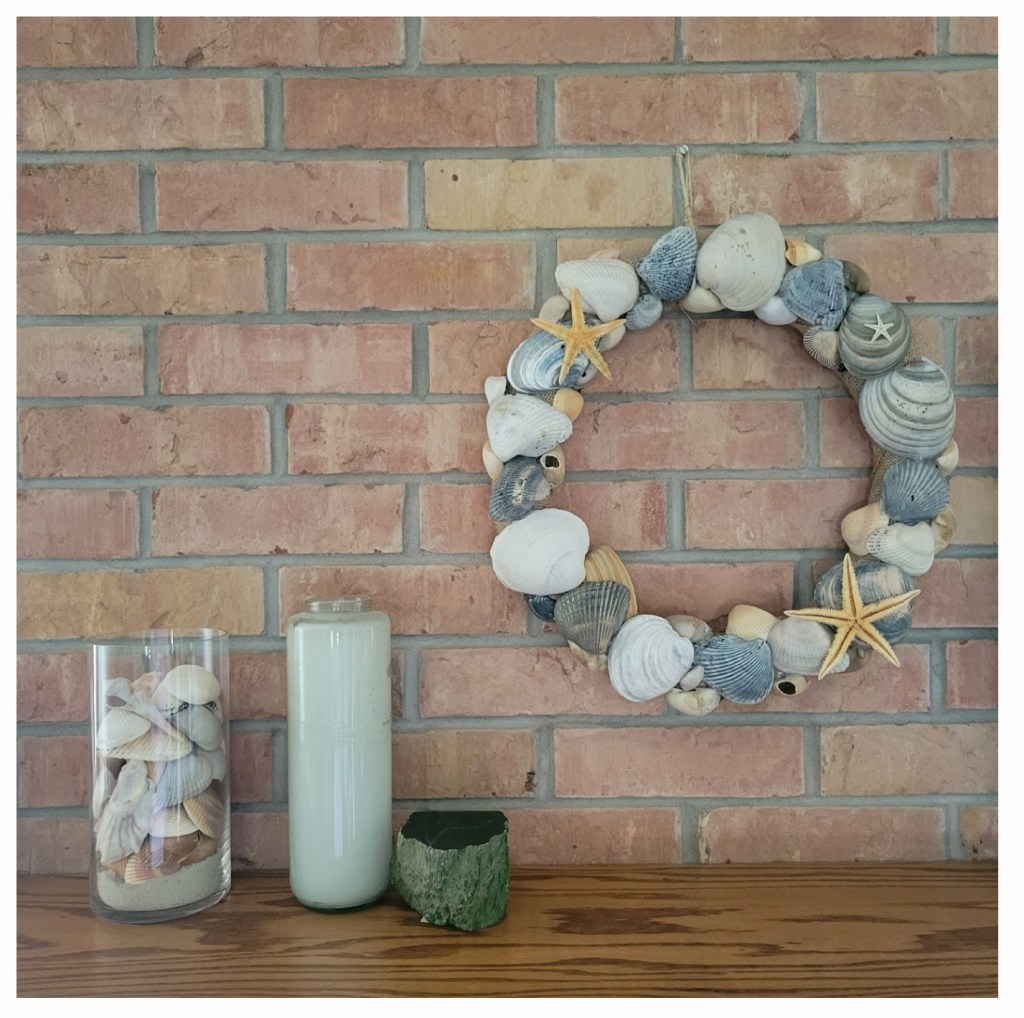
For the wreath, I looked around at Michael’s Craft store for a flat wreath form, as shown in this how to blog post. I couldn’t find one and wasn’t patient enough to order one from Amazon, so I opted for a 12″ round foam wreath form and some Gorilla Glue hot glue sticks. I also bought a roll of burlap ribbon and some decorative starfish and smaller shells. Once I had all materials, I covered the foam wreath in burlap, using hot glue to secure it in place. Next I arranged shells by size and shape in a circle to preview what the wreath might look like. Once my daughter and I liked the design, I started placing and hot gluing like crazy. I filled in between shells with smaller shells and added the starfish for focal points. Lastly, I used twine to create a loop for hanging.
At the same time that we made our first wreath, we also assembled a seashell tree. This worked better with smaller shells. It took A LOT of hot glue to get everything to stay. We finished up the tree with some small pearls and starfish accents. To get rid of the small strings of hot glue, we use a hair dryer on high to quickly go over the tree or wreath. That works great! Our first seashell crafts are pictured on the bottom of the photo collage:
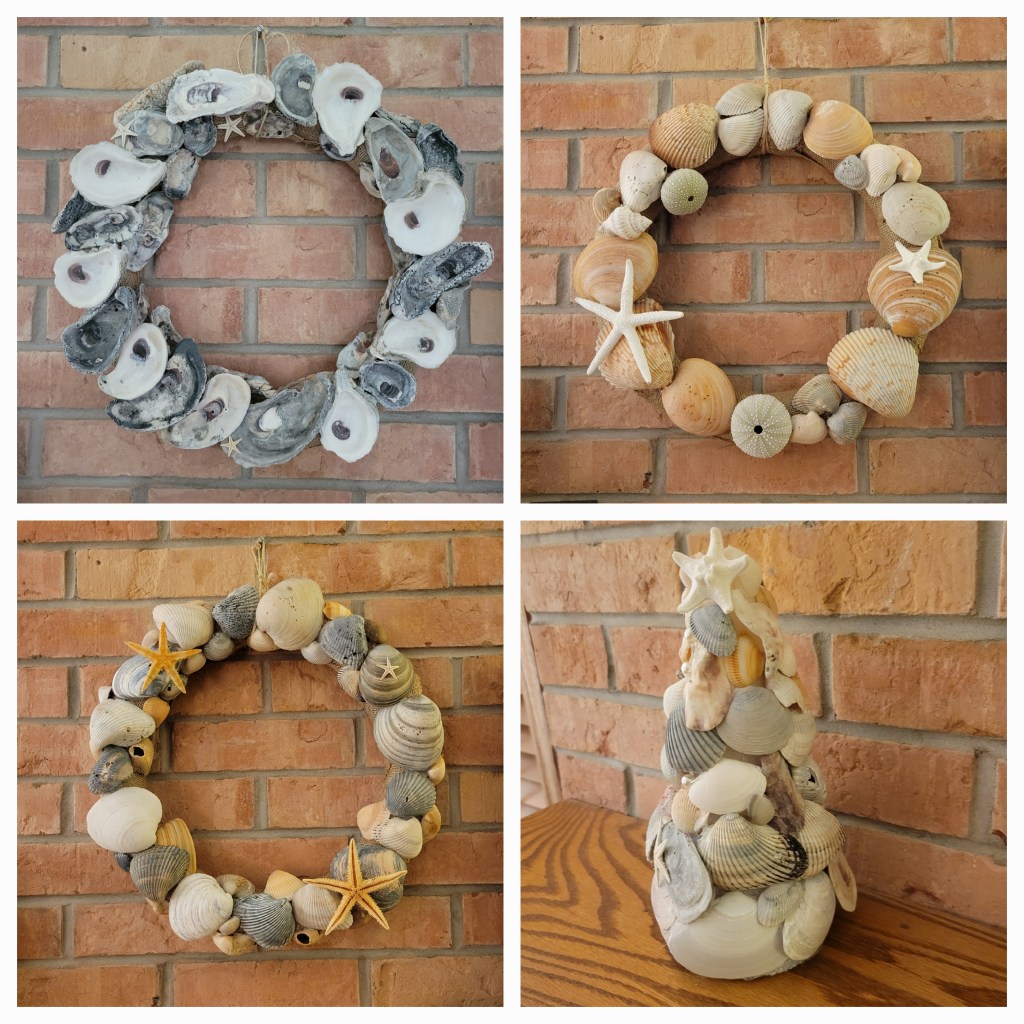
I loved making my first seashell wreath so much that I made two more – one with more orange hues and another out of oyster shells. I also took apart an older beach-themed wreath for some additional accent items. I love the texture and color of the shells. The lighting is slightly different against the wreaths pictured below, but all of them look pretty cool against our brick.
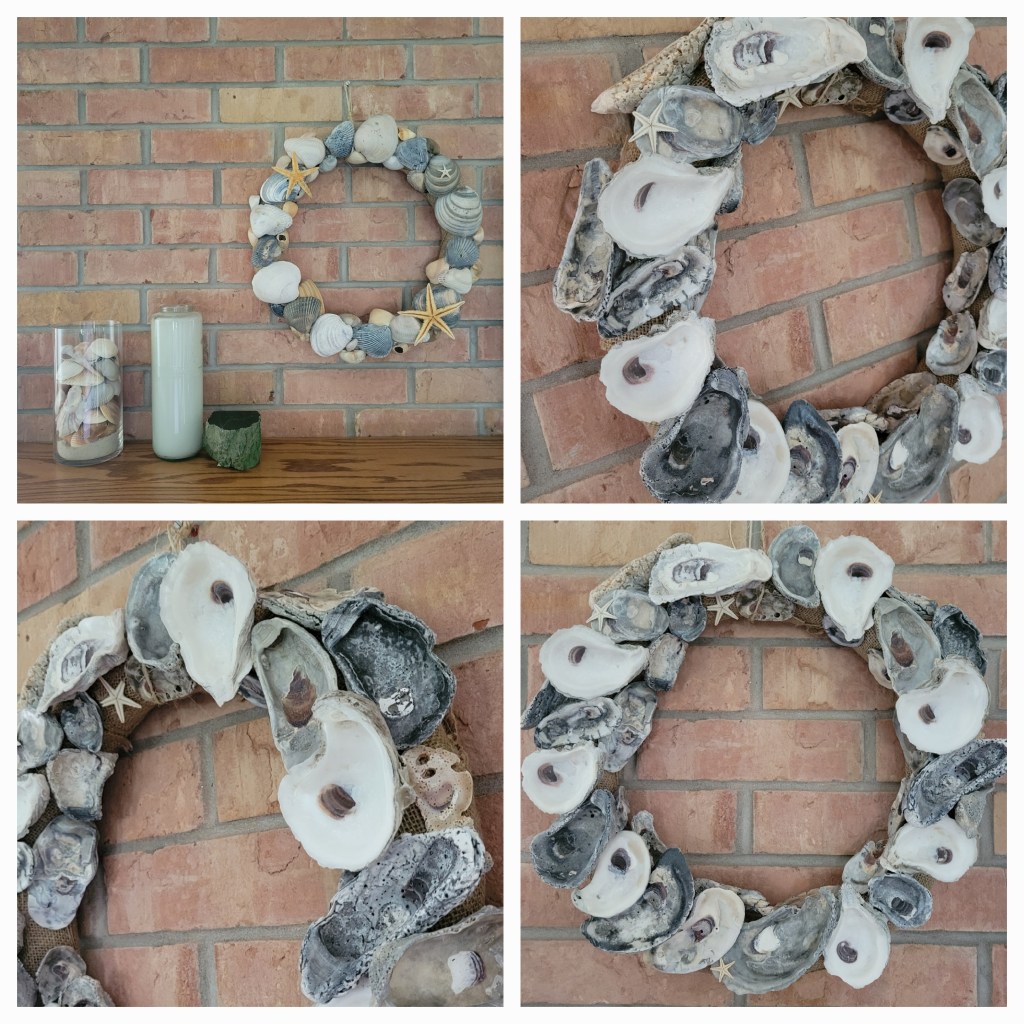
So far, all wreaths are still in tact, no shells have fallen off. They are pretty heavy, so I am using a strong hook to hang them. I’m also keeping them indoors instead of hanging on our front door that gets a lot of sun during the day. If the wreath heats up, I’m worried that shells might fall off.
More Shell Crafts
We still have more shells in storage, so some additional crafts that we might make include:
- Clay ornament
- Shell jewelry
- Sea glass and shell stepping stone
Happy summer crafting! Let me know how you like to craft with things you find at the beach.
